Patient intake
Make intake a breeze!
Seamless onboarding
Make first impressions count. Healee simplifies onboarding with a fully branded, user-friendly self-service process, enabling patients to get started in seconds without administrative delays
Configurable intake
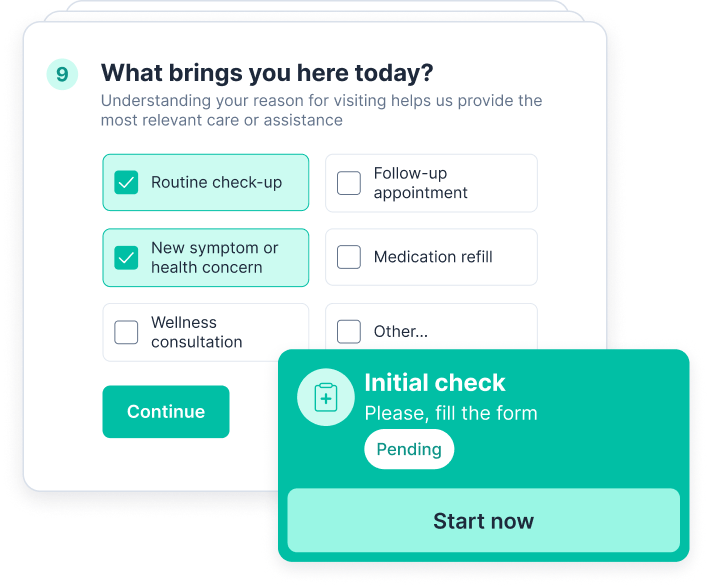
Streamline patient data collection with configurable intake forms. Gather only the information you need, saving time and ensuring accuracy, while tailoring the experience to your specific workflows
Customizable forms & questionnaires
Create questionnaires and assessment forms that align with your practice’s unique needs. Whether for initial consultations, ongoing care, or patient discharge (exit forms), Healee provides the flexibility to design tools and workflows that streamline data collection and enhance patient outcomes.
Care triage & Scheduling
Ensure each patient gets the care they need
Smart triage & patient-provider matching
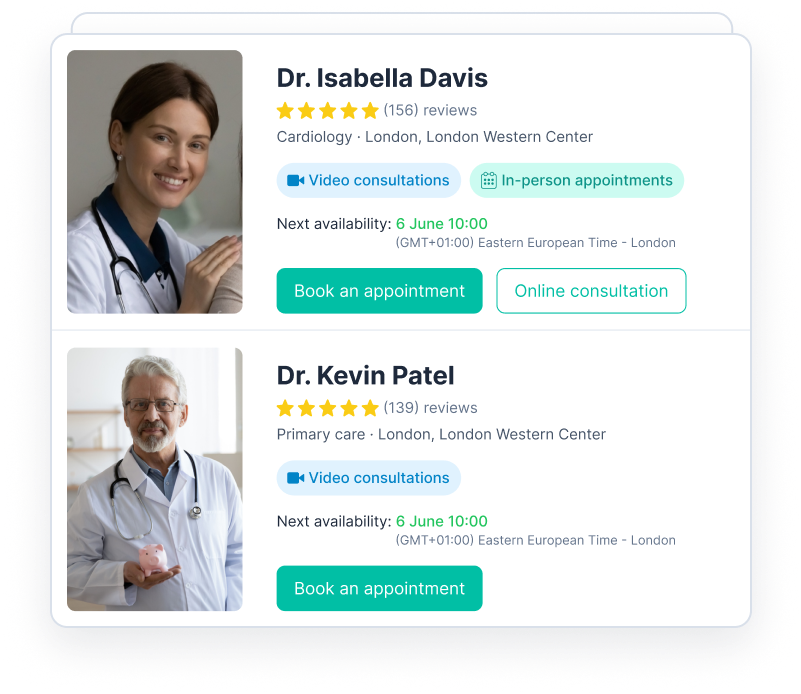
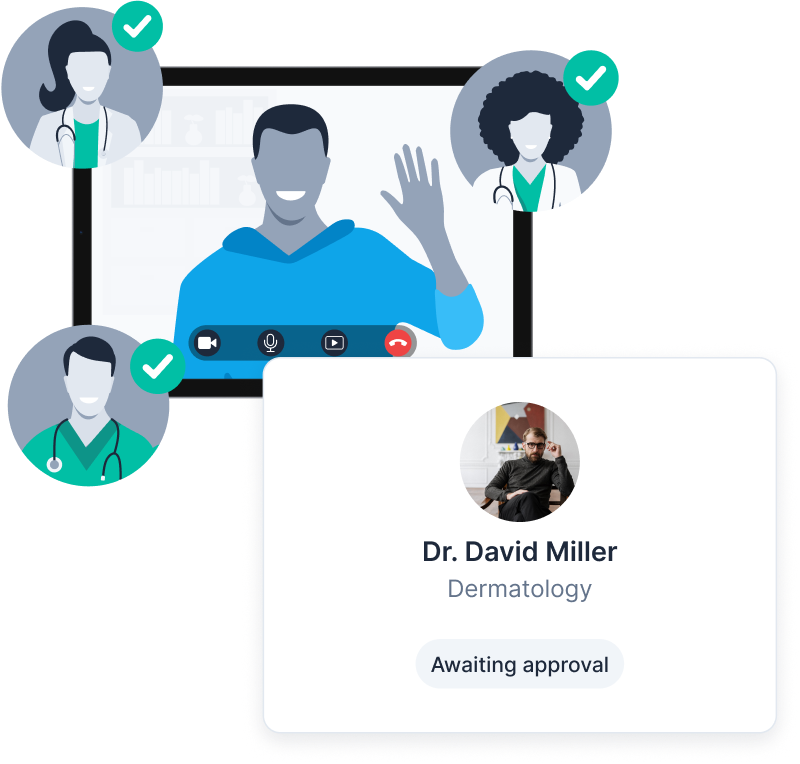
Configure advanced rules, criteria and weighting algorithms to automatically pair patients with the best provider for their needs. This helps reduce wait times, minimize administrative burden, and ensure patients receive the care they need without unnecessary steps
Self-scheduling
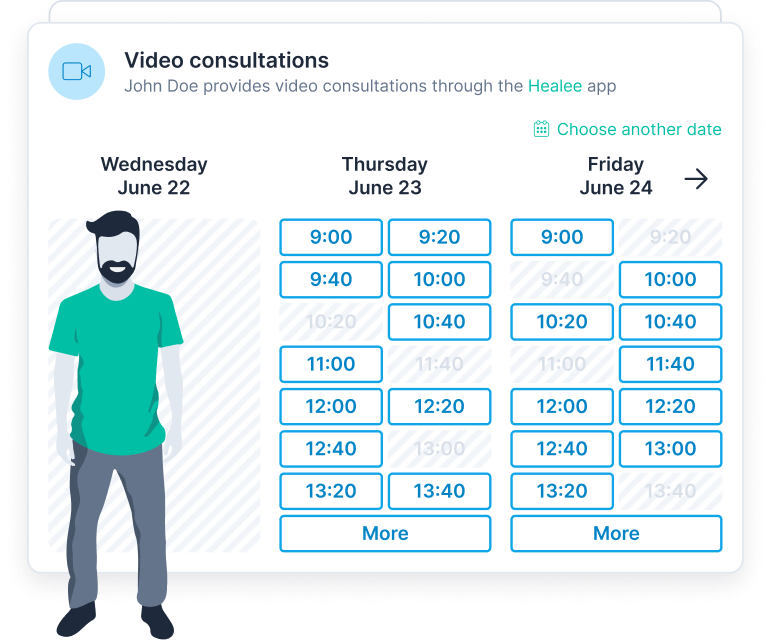
Enable patients to book virtual or in-person visits for one-off, recurring, or group appointments. Offer easy access to providers using configurable filters like specialty, gender, availability, proximity, insurance, and language
Booking on behalf of patients
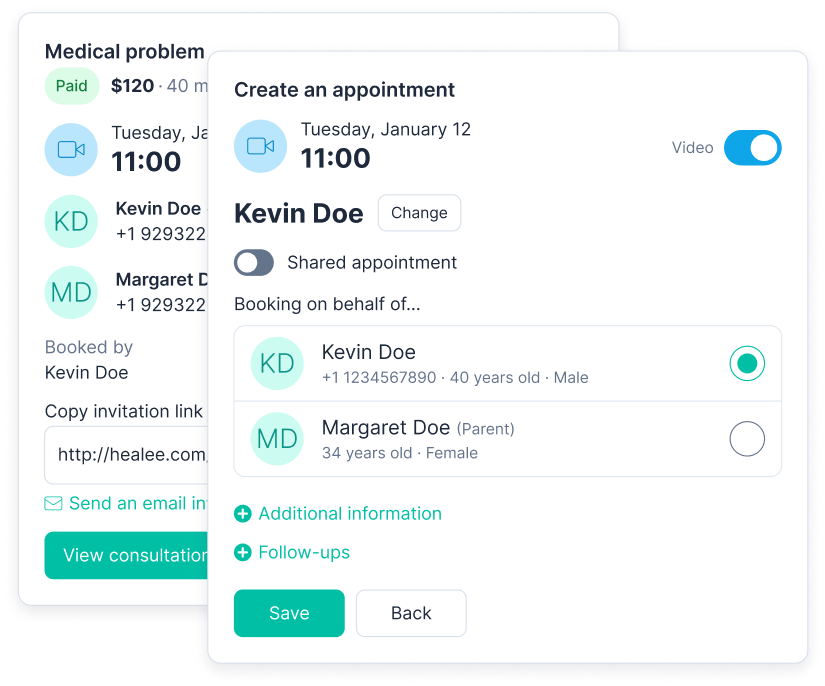
Enable clinical ops to book appointments on behalf of patients, improving access to care. Manage schedules, availability, and assist both patients and providers with bookings
Multiple points of contact
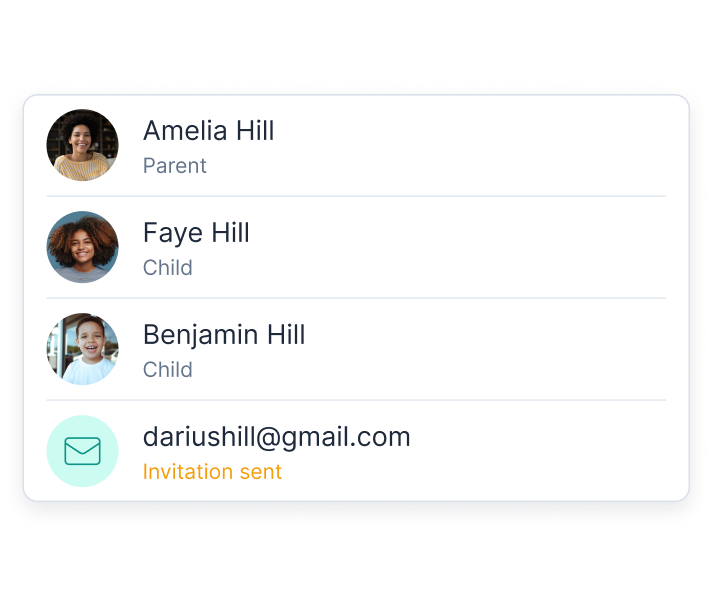
Facilitate collaboration by enabling guardians, family members, or caretakers to participate in the care process. Ensure everyone involved stays informed and aligned
Care coordination & Communication
Coordinate care & patient communication
Care coordination
Enhance collaboration between providers and administrators. Healee’s care coordination tools ensure everyone involved in a patient’s care has access to the right information at the right time
Omni-channel communication
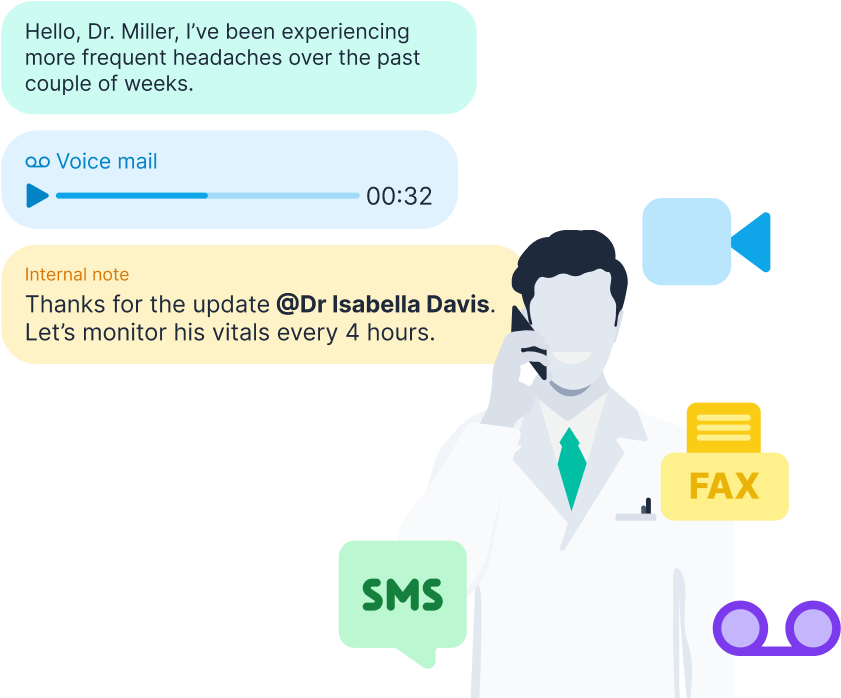
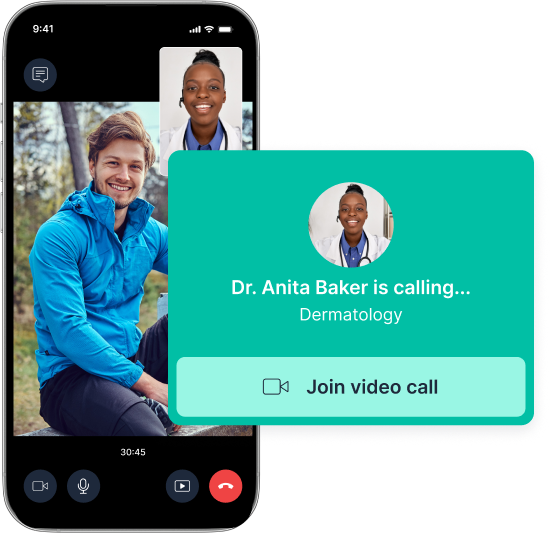
Engage patients through their preferred channels—whether it's chat, text, video telehealth, phone, or fax. Healee combines all communications into a single thread, enabling streamlined, frictionless interactions
Automated reminders & notifications
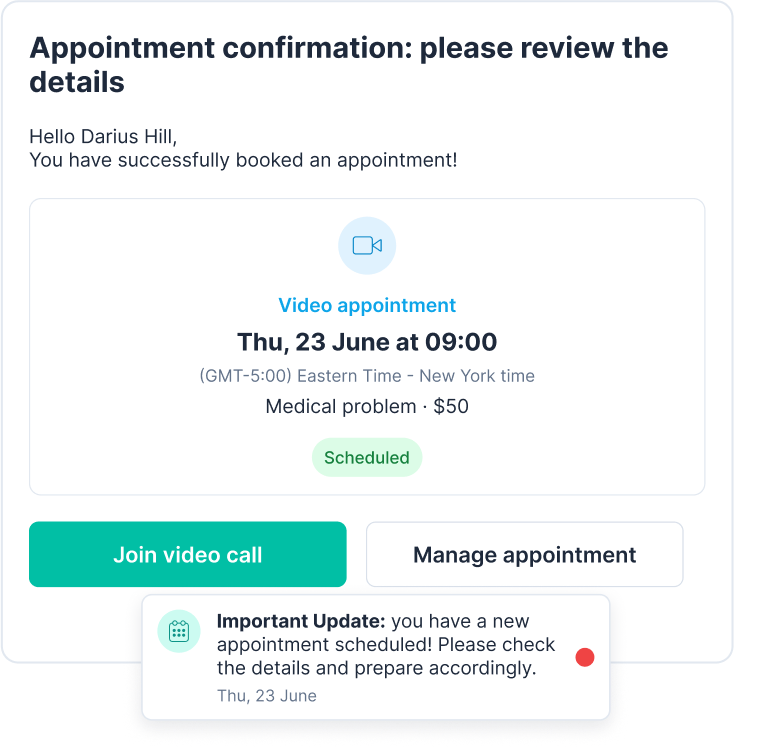
Use personalized automated prompts via different channels (emails, text messages) to remind patients about upcoming appointments and reduce no-shows and last-minute cancellations
Dynamic waiting lists
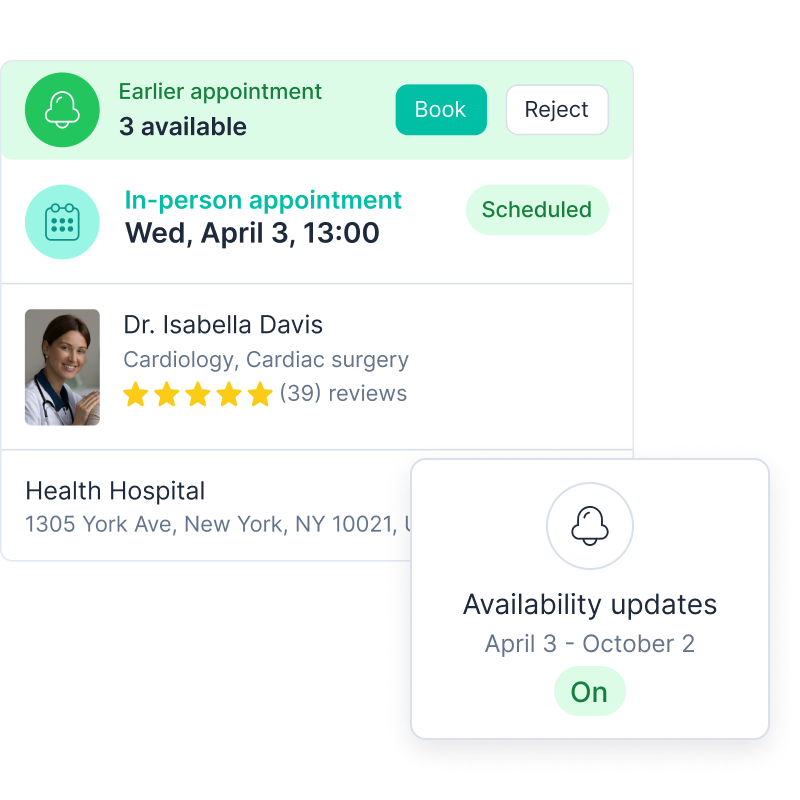
Enable patients to join waiting lists for their preferred providers and receive automatic alerts when earlier appointment slots become available
Mass communication campaigns
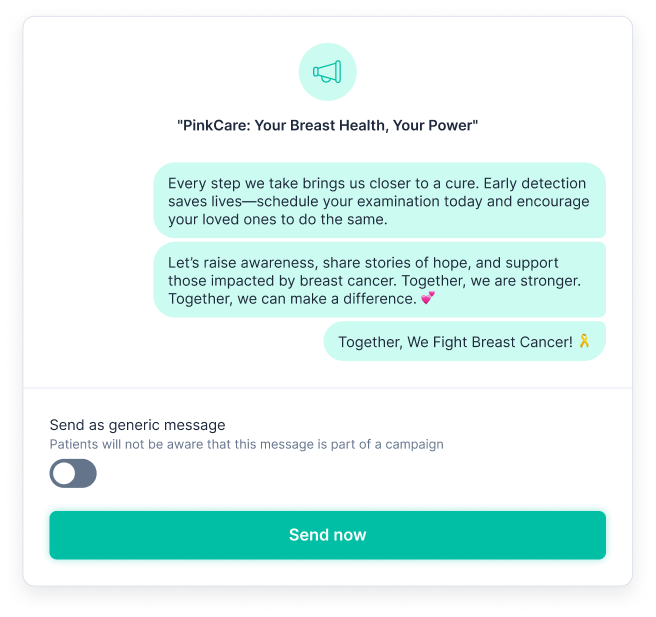
Send secure, personalized messages to specific patient groups to inform them about schedule changes, campaigns, or new subscription plans. Share updates with all providers in the organization or directly with patients of a specific provider
Productivity-boosting tools and integration
Drive efficiency
AI-powered schedule optimization
Maximize provider utilization and reduce inefficiencies with AI-driven scheduling tools. Predict patient demand and allocate resources effectively to meet needs while minimizing downtime
Learn moreAsynchronous care
Enable store-and-forward communication for cases that don’t require real-time interaction. This feature improves provider efficiency while maintaining high-quality patient care
Payments
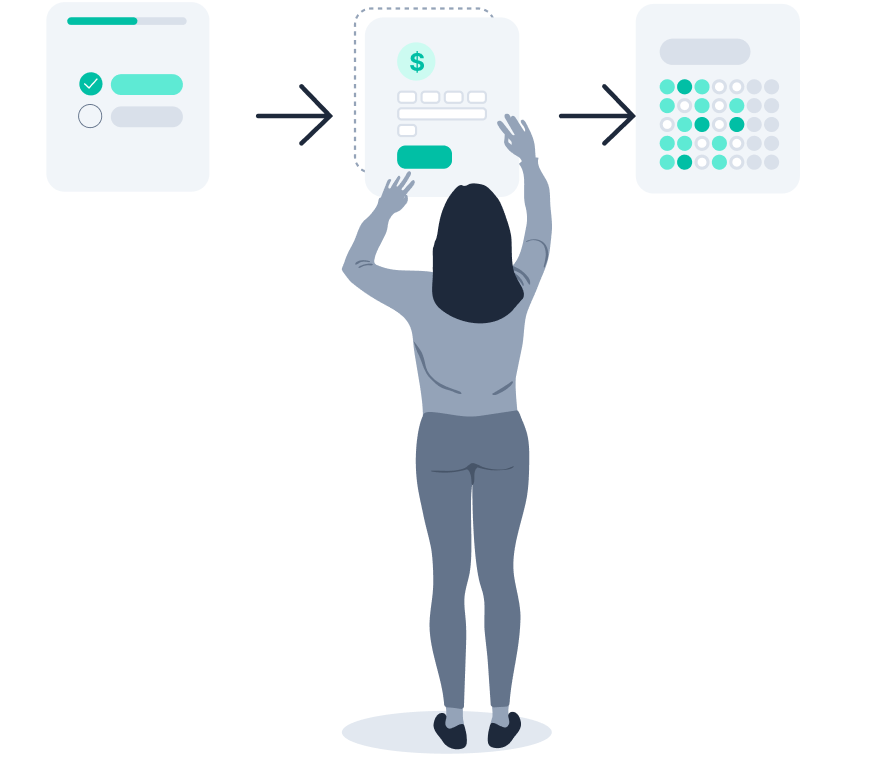
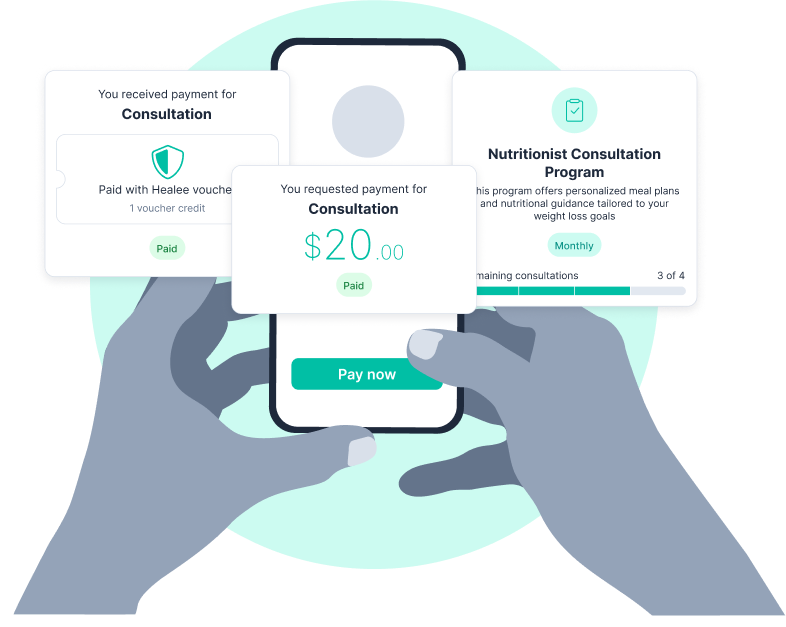
Simplify payment collection with multiple methods like credit cards, subscriptions, and vouchers. Healee ensures secure, seamless transactions for both patients and providers, including automated provider payouts with configurable tiered commission and bonus structures
Analytics & Reporting
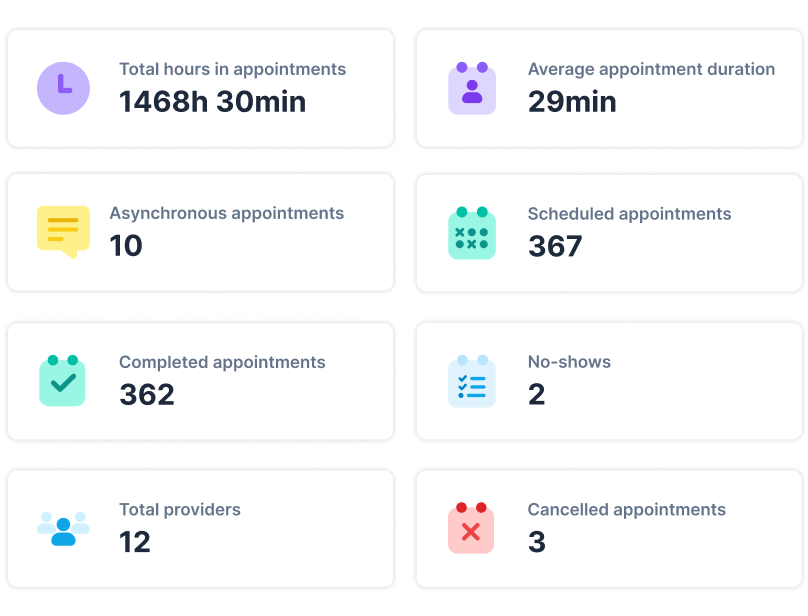
Learn what’s working and how you can better serve your patients with deep analytics, BI and reporting capabilities
Healee is integrated with
industry-leading systems
Integrate with EHRs, payment systems, and CRMs to streamline operations
and enhance experiences
